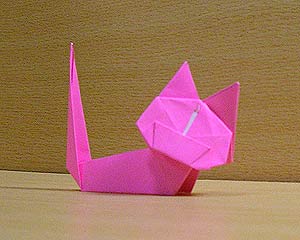
猫折り紙:お座り猫(page1)
★★★☆☆☆中級 Intermediate
Origami Cat 7 : Sitting Cat(page1)
創作折り紙 Original by nekohon.jp
何かおねだりしたいとき、猫ってこんな風に座って見上げますよね。
A sitting cat looking up to you, as if waiting for a meal.
折り方 1 Step 1

この【お座り猫】では、最初に何回も折っては開き、いろいろな折り目を付けます。
と聞くと、すごく複雑な折り方のように思われるかもしれませんが、決してそんなことありません。折り方としては初級クラスだと思います。折り始める前に、いろいろ折り目を付けることで、もっと簡単に、誰でも折れるようになるのです。折り紙に慣れていらっしゃる方なら、最初の行程を省き、【折り方13】から折り始められても、問題なく折れるだろうとは思います。
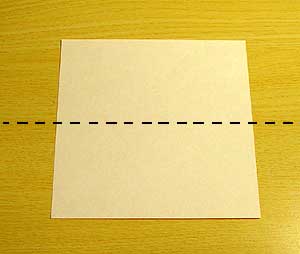
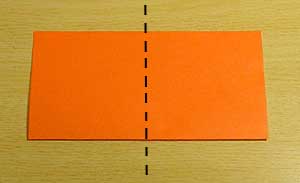
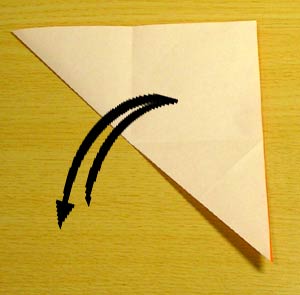
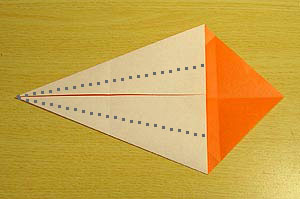
ではまず、折り目をつけましょう。
写真のように、四角に二回折って、また広げます。紙の裏表にも注意して折ってください。
In this “Sitting Cat”, you first fold and unfold many times just to make various creases on paper. By making these creases, the latter steps become extremely easy to fold. If you are an Origami Expert, you may start from “Step 13”.
So, let’s begin. If you have a paper with a color only on one side (white on backside) , sides also matters. Start with the white side as in the picture.
Valley fold twice and unfold.
折り方 2 Step 2
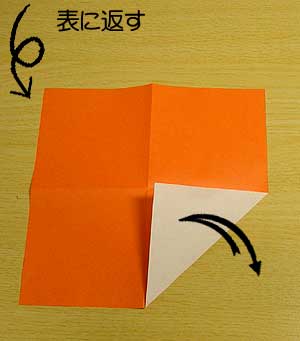
表に返し、一カ所だけ、三角に折ってまた広げます。
Turn over, fold one corner, unfold.
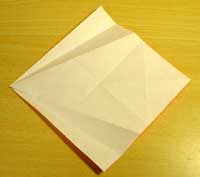
折り方 3 Step 3
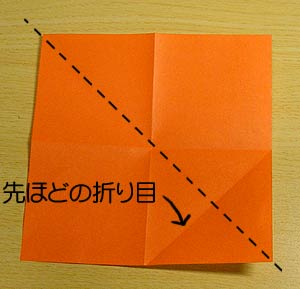
先ほどの折り目と交わるように、三角に折り、また広げます。すると、一番下のような折り目になります。折り目作りはまだ続きます(汗)。
Fold a big triangle and unfold. Your creases should be looking like this.
折り方 4 Step 4
先ほどの斜めの折り線に沿って、図のように折ります。
Fold both sides like a kite.
折り方 5 Step 5
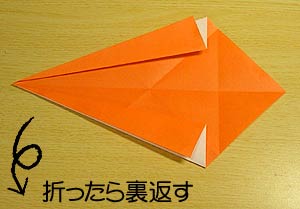
折ったら、ひっくり返します。
Fold both sides outwards, then turn over.
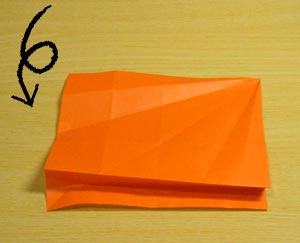
折り方 6 Step 6
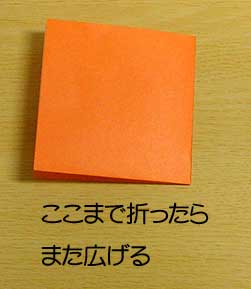
中央線に合わせて折ったら、また全部開きます。
Fold to the middle, then unfold all over.
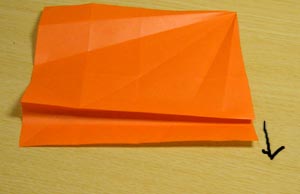
折り方 7 Step 7
中央の折り線に合わせて、図のようにおります。折ったら、また広げます。折り目付け、まだ少し続きますので辛抱して折り目を付けてくださいね。
Fold to the center, then unfold.
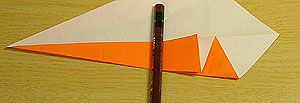
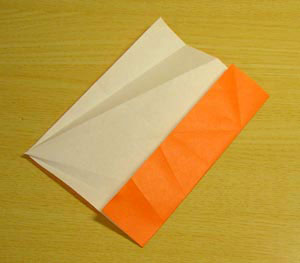
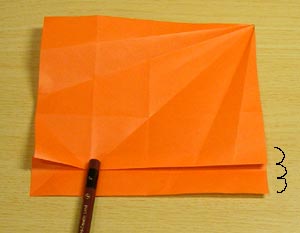
折り方 8 Step 8
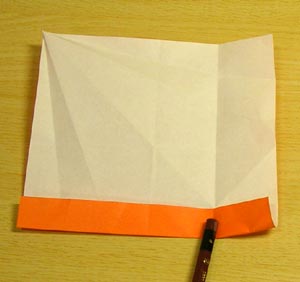
上でつけた折り目に沿って折ります。このとき、鉛筆から向かって左側は折り目を付けてください。鉛筆から向かって右側は付ける必要はありません。(付けても別に問題はありません)。
Fold up to where pencil points ( you may fold all along if you please, it doesn’ matter so much. I just think that faces are better less wrinkled).
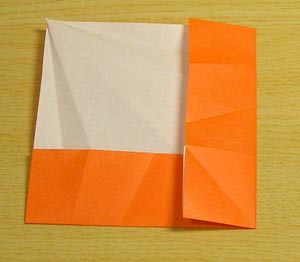
折り方 9 Step 9
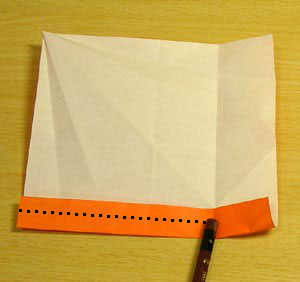
さらに細く折ります。同じく、鉛筆から向かって右側は折る必要はありません。
折ったら、裏返します。
Fold again up to the pencil. Then, turn over.
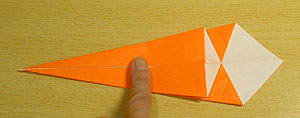
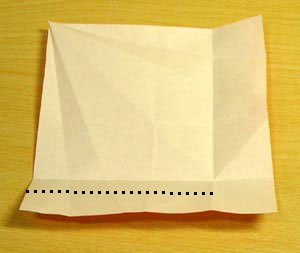
折り方 10 Step 10
(9)で作った折り目に合わせます。このときも、鉛筆より向かって左側は折る必要はありません。(折っても別に問題はありません)。
折ったら、すべて広げて、裏返します。
Fold the ridge to the crease you have just made on step 9.
Unfold everything.
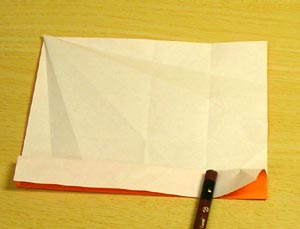
折り方 11 Step 11
もう一辺も、(7)で折った折り線にあわせて、同じように折り目を付けていきます。鉛筆の下側は折る必要はありません。 (折っても別に問題はありません)。
Repeat the same thing (step 8-9) with this side too.
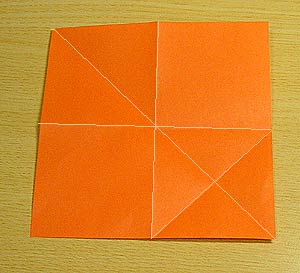
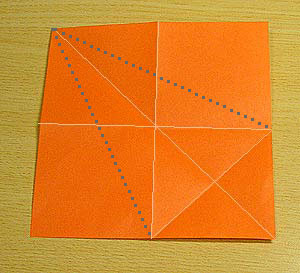
折り方 12 Step 12
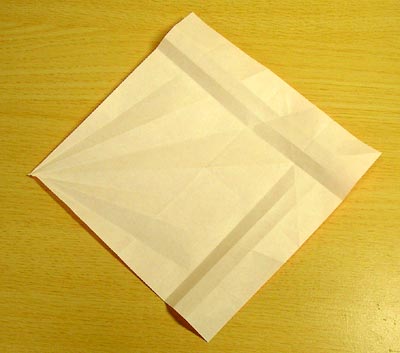
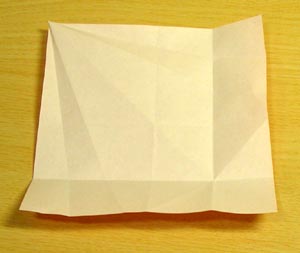
全部またきれいに広げて、これで「折り目付け」は終了です。これで、後の行程がグンと楽になります。お疲れ様でした。
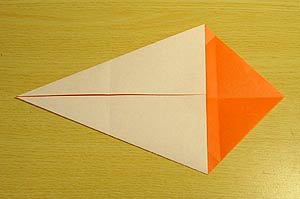
いよいよ、【お座り猫】を折ります。
Unfold everything. Your creases should look like this.
Now, we can start folding the “Sitting Cat”.
つぎに進む→ next→
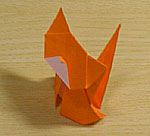
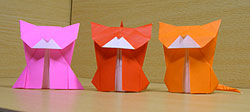
他の猫折り紙もぜひご覧ください
For more origami cats;
*猫折り紙 Origami Cats
「猫折り紙」の著作権等については、こちらをご覧ください。
*猫折り紙について